In this blog post, I will show you how to use MMKV with react-native so you will never have problems with long-term memory in your react-native apps and have peace of mind in planning your next react-native project.
So, what is react native MMKV?
MMKV is a library that provides a fast, reliable, easy-to-use solution for your data storage needs. It is developed by Tencent and adapted for react native by Mark Roussavy. Apart from other storage solutions MMKV let you store any kind of data in an unlimited number of database instances whit the possibility of encryption and has support for redux-persist.
Pros and cons
Pros:
- Significantly faster
- Encryption support
- Synchronous storage, simpler application code
Cons:
- The slightly higher learning curve
Let's make a mini project to show MMKV in use
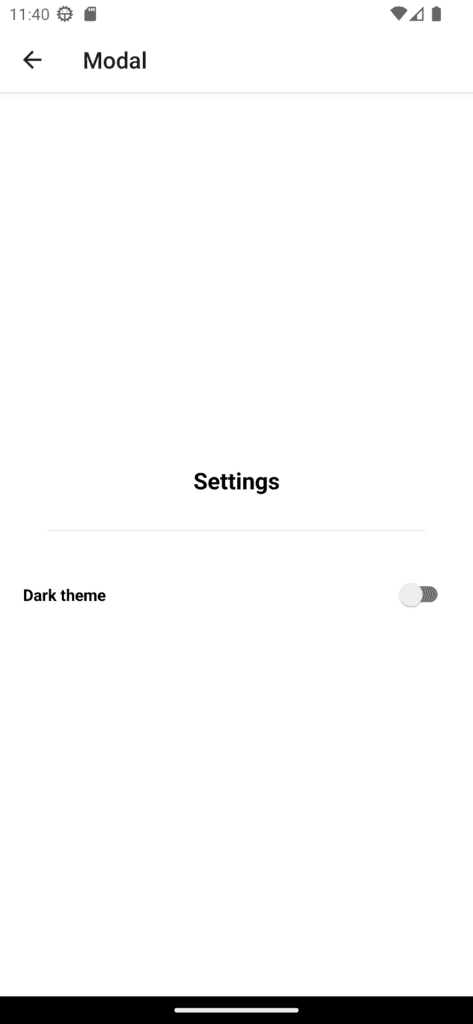
We will make a simple application that store user settings inside the app, more precisely to change the theme from light to dark and vice versa.
If you aren’t started your application yet you can start a new project with typescript using this command:
npx create-expo-app -t
MMKV storage is not available with the expo go application so you need to build your app with:
					// android
npx expo run:android

//ios
npx expo run:ios
Installation
First, we need to install react-redux. It allows your React components to read data from a Redux store and send actions to the store to update the state.
npm install react-redux
Next, install @reduxjs/toolkit. The Redux Toolkit package is designed to be the industry standard for writing Redux logic. It was originally designed to address some common Redux concerns.
npm install @reduxjs/toolkit
npm install redux-persist
And, last we need to install our MMKV so we can use it later.
npm install react-native-mmkv
Let’s make use of react native MMKV
First, make a redux folder inside your app that contains three files:
- store.tsx
- storage.tsx
- theme.slice.tsx

Now we will write some code inside these files.
First, open storage.tsx file and write the code below to create a new instance of MMKV storage. Reusing this through your entire app is recommended instead of creating a new one each time.
					import { Storage } from "redux-persist";
import { MMKV } from "react-native-mmkv";

const storage = new MMKV();

const reduxStorage: Storage = {
  setItem: (key, value) => {
    storage.set(key, value);
    return Promise.resolve(true);
  },
  getItem: (key) => {
    const value = storage.getString(key);
    return Promise.resolve(value);
  },
  removeItem: (key) => {
    storage.delete(key);
    return Promise.resolve();
  },
};

export default reduxStorage;
Next, open theme.slice.tsx file, to set up our theme slice, so we can change the state of our theme object inside storage. Write the code below.
					import { createSlice, PayloadAction } from "@reduxjs/toolkit";

type ThemeState = {
  darkTheme: boolean;
};

const initialState = {
  darkTheme: false,
} as ThemeState;

type ThemeChangePayload = {
  darkTheme: boolean;
};

const themeSlice = createSlice({
  name: "theme",
  initialState,
  reducers: {
    setDarkTheme: (state, action: PayloadAction) => ({
      darkTheme: action.payload.darkTheme,
    }),
  },
});

export const { setDarkTheme } = themeSlice.actions;

export default themeSlice.reducer;
Now we will set up our store, open a store.tsx and write the code below
					import { configureStore, combineReducers } from "@reduxjs/toolkit";
import { useDispatch } from "react-redux";
import {
  FLUSH,
  PAUSE,
  PERSIST,
  persistReducer,
  persistStore,
  PURGE,
  REGISTER,
  REHYDRATE,
} from "redux-persist";
import reduxStorage from "./storage";
import themeReducer from "./theme.slice";

const rootReducer = combineReducers({
  theme: themeReducer,
});

const persistConfig = {
  key: "root",
  version: 1,
  storage: reduxStorage,
  timeout: 0,
};

const persistedReducer = persistReducer(persistConfig, rootReducer);

export const store = configureStore({
  reducer: persistedReducer,
  middleware: (getDefaultMiddleware) =>
    getDefaultMiddleware({
      serializableCheck: {
        ignoredActions: [FLUSH, REHYDRATE, PAUSE, PERSIST, PURGE, REGISTER],
      },
    }),
});

export const persistor = persistStore(store);

export const useAppDispatch = () => useDispatch();
export type RootState = ReturnType;

export default store;
To make use of our store we need to wrap our root component with PersistGate and Provider with store prop. This will delay our UI rendering until the persisted state has been retrieved and saved to redux.
Go to your app.tsx and wrap the root component with Provider with our store prop.
App.tsx code
					import { StatusBar } from "expo-status-bar";
import { SafeAreaProvider } from "react-native-safe-area-context";
import { Provider } from "react-redux";
import { PersistGate } from "redux-persist/integration/react";

import useCachedResources from "./hooks/useCachedResources";
import Navigation from "./navigation";
import store, { persistor } from "./redux/store";

export default function App() {
  const isLoadingComplete = useCachedResources();

  if (!isLoadingComplete) {
    return null;
  } else {
    return (


    );
  }
}
Make use of MMKV
Now we are all set up and ready to use our MMKV storage. At the start, we said that we will make an option to change the theme of the app. Every time the theme is changed it will be stored in local storage and the app will remember the user’s settings. Usage of MMKV is the same as react-redux, we set our variable with dispatch and read the state of the variable with useSelector().
					 const theme = useAppSelector((state) => state.theme);
  const [isEnabled, setIsEnabled] = useState(theme.darkTheme);
  const toggleSwitch = () => setIsEnabled((previousState) => !previousState);

  const dispatch = useAppDispatch();

  useEffect(() => {
    if (isEnabled) {
      dispatch(setDarkTheme({ darkTheme: true }));
    }
    if (!isEnabled) {
      dispatch(setDarkTheme({ darkTheme: false }));
      console.log(isEnabled);
    }
  }, [isEnabled]);
Every time we change the state of isEnabled with switch, useEffect() will be triggered and it will dispatch the new state of our theme variable.
If we put to use our theme variable to change the appearance of the app it will look something like this
					export default function Navigation() {
  const isDarkTheme = useAppSelector((state) => state.theme);
  return (


  );
}


Conclusion
React-Native-MMKV is a library that enables React Native developers to use MMKV, a high-performance key-value storage engine, in their applications. It provides a simple and efficient method for storing and retrieving data in a key-value format, which can be useful for a variety of use cases such as data caching, application state management, and storing user preferences. Overall, React-Native-MMKV is a useful tool for React-Native developers looking to improve their app’s performance and functionality.


